Writing An App
This app is based on AssemblyScript.
Writing an App
Each app on the Steer Protocol utilizes an on-chain smart contract. The goal of an app is to write logic which can interact with the given contract. For this guide we are going to focus on developing an app which can be used with the UniLiquidityManager on Steer Protocol.
For more tailored information about developing strategies for automated liquidity management, read the strategy docs.
The Goal
Create an app which uses a liquidity position to provide a trailing range order for a given asset pair. For more information on range orders please see the Range Order documentation by Uniswap.
Getting Started
To get started we will use the Assembly script template repository which is available on Github. This repository contains a template which can be used to build a concentrated liquidity app, in addition to more general apps as well.
The AssemblyScript template can be found here: https://github.com/SteerProtocol/strategy-template-assemblyscript
Project Structure
Apps have three external functions that are used by the Steer system. Additional methods, classes, or varaibles can be used in conjunction with these required functions for any desired behavior. For more information please see the app interface. This design means, that as a developer, you only need to implement the methods which are required for the app to work.
Below are the significant files and folders which you will want to get familiar with:
├── assembly      // Source code for the app
├── build         // Output of the build process aka `yarn asbuild`
├── coverage      // Coverage report for testing
├── tests         // Test files with a built in test runner
├── asconfig.json // Assemblyscript config
├── index.js      // Javascript entrypoint for the app when running tests
├── package.json  // Dependencies for the app
Project Setup
Once the template has been cloned, you will need to install the project dependencies. This can be done via the following command:
yarn install
You will notice that there is a post-install script which will compile the ./assembly source folder and populate the ./build folder. This is done to make it easier to run the tests. We will cover this later.
Once you have set up your project, you can begin defining your app.
Setup App Params
Almost all apps will require parameters to be passed into the app. These parameters are defined via the config method of the app. The config should return proper JSON Schema which can be used to determine and validate the parameters.
If you are not familiar with JSON Schema the following guide is very helpful: JSON Schema Guide
For our goals, we need to require users to provide a percentage which they would like to tail the current price of an asset pair. Let's accomplish this by adding a percentage parameter to the config. We will also specify that the input is a required number. We will also add a binWidth parameter which will be with size in ticks of the position to make. This number needs to be a multiple of the pool tick spacing to be valid, which we can check and use for more precise bins by requiring poolFee as well. The final result of the config function should be a valid JSON Schema string.
You can find an online JSON Schema builder with examples here: Online JSON Schema Builder
// This is only called when the bundle is being newly implemented, and the resulting configuration object is stored in IPFS.
export function config(): string{
  return `{
    "$schema": "http://json-schema.org/draft-07/schema#",
    "title": "Strategy Config",
    "type": "object",
    "expectedDataTypes": ["OHLC"],
    "properties": {
      "percent": {
          "type": "number",
          "description": "Percent for trailing stop order",
          "default": 5.0
      },
      "poolFee": {
        "description": "Pool fee percent for desired Uniswapv3 pool",
        "enum" : [10000, 3000, 500, 100],
        "enumNames": ["1%", "0.3%", "0.05%", "0.01%"]
      },
      "binWidth": {
          "type": "number",
          "description": "Width for liquidity position, must be a multiple of pool tick spacing",
          "default": 600
      }
    },
    "required": ["percent", "binWidth", "poolFee"]
  }`;
}
Inside the static config, there is a extra field called parameters which define the type of data used by the app.
Once you have defined your config, you must write the initialize function. A fresh instance of the bundle is ran each epoch, thus no information persists. The initialize function allows us to reconfigure the bundle. The function should parse and store any variables required for the execute function. In our case we will fetch the percentage, binWidth, and poolFee variables.
import { JSON } from "assemblyscript-json";

// Variables stored in the wasm memory
let width: i32 = 600;
let percent: f32 = 0;
let poolFee: i32 = 0;

export function initialize(config: string): void {
  // Parse the config object
  const configJson = <JSON.Obj>JSON.parse(config);
  // Get our config variables
  const _width = configJson.getInteger("binWidth");
  const _poolFee = configJson.getInteger("poolFee");
  const _percent = configJson.getValue("percent");
  // Handle null case
  if (_width == null || _percent == null || _poolFee == null) {
    throw new Error("Invalid configuration");
  }

  // Handle percents presented as integers
  if (_percent.isFloat) {
    const f_percent = <JSON.Num>_percent
    percent = f32(f_percent._num);
  }
  if (_percent.isInteger) {
    const i_percent = <JSON.Integer>_percent
    percent = f32(i_percent._num);
  }
  // Assign values to memory
  width = i32(_width._num);
  poolFee = i32(_poolFee._num);
}
Logic Implementation
Now that we have proper input controls, the execute function can be written. There are some pre-made utility functions available from the @steerprotocol/strategy-utils module. For our goals we will import the following class and functions:
import {Position, parsePrices, getTickFromPrice, trailingStop, renderULMResult, getTickSpacing} from "@steerprotocol/strategy-utils";
This will allow us to:
- Make position objects
- Parse OHLC data from the data connector
- Convert prices into ticks
- Calculate our trailing stop price based off our trailing stop percentage
- Convert an array of positions into a format digestable by the node and the UniLiquidityManager
- Get the minimum tick spacing based on the pool fee tier
With these methods available, we first parse the prices object. This method assumes the first data connector returns OHLC data, (it will need editing if the order is different) from which we can use the trailingStop method to get our stop loss price. At this point we need to add some custom logic, so we make a helper function called calculateBin to make our position array. Here it helps to understand some of the inner workings of Uniswap's concentrated liqudity, take some time to understand the concepts at play (especially ticks in this example). We start by converting our trailing stop price to a tick, where we then find the nearest viable ticks to make the position at. We add our position to an array to be passed into the renderULMResult method. This method properly formats the position(s) into a stringified object that will be returned by the execute function.
export function execute(_prices: string): string {

  // _prices will be a nested array with the OHLC data in the deeper array (at index 0)
  // We pass the whole array in and specify which position has the candles
  const prices = parsePrices(_prices, 0);

  // If we have no candles
  if (prices.length == 0) {return `skip tend, no candles`}

  // Get Trailing stop price
  const trailingLimit = trailingStop(percent, prices)

  // Calculate position
  const positions = calculateBin(trailingLimit);

  // Format and return result
  return renderULMResult(positions);
}


function calculateBin(upper: f32): Position[] {

  // Calculate the upper tick based on the start of the stop
  const upperTick: i32 = i32(Math.round(getTickFromPrice(upper)));

  // Get the spacing
  const tickSpacing = getTickSpacing(poolFee);

  // Step down ticks until we reach an initializable tick
  let _startTick: i32 = upperTick;
  while (_startTick % tickSpacing !== 0) {
    _startTick--;
  }

  const positions: Array<Position> = [];
  const position = new Position(_startTick - width, _startTick, 1);
  positions.push(position);
  // Return the position in an array to use with the renderULMResult method
  return positions
}
Testing
The template comes with two app logic tests. The first test is simple; it will test the logic of the config method. The second test is more complex and will test the logic of the execute method.
Let's make sure the test can run by using the following command:
yarn test
You should see the following output:
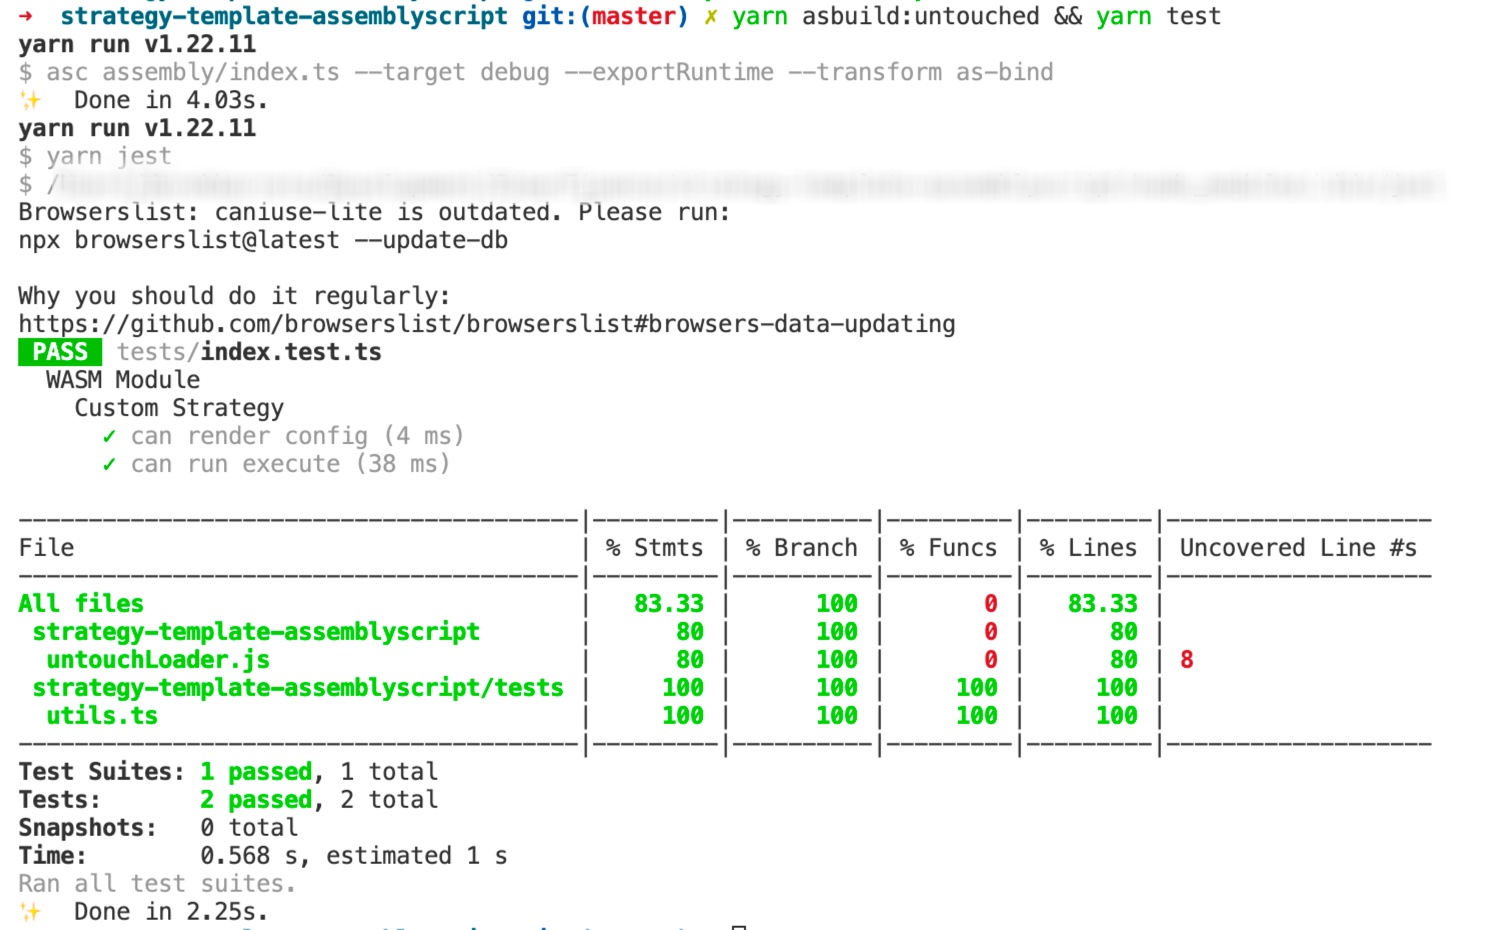
Final Result
As you can see it can be very easy to create a simple app for the Steer Protocol! It doesn't take long to build more tools to develop complex apps. Using wasm allows network speeds to be lighting fast. The final payload from the execute method will be hashed and signed by the node operators and subsequently by the keepers. The final execution is done through the Orchestrator.
Next Steps
Use the Steer Protocol Backtesting Platform to test your App!
Steer provides a state-of-the-art backtesting platform for all concentrated liquidity apps! Run your execution bundle on historical data and see how it would have performed! Examine risks and debug your app to improve its performance. You can find more information about this tool in the Steer Backtesting Documentation
Still confused? Feel free to reach out for any support!